Converting knitted pieces to the correct size

What do you need to calculate the right size?
Let's assume you want to convert the instructions for a sweater.
You probably have a favorite sweater or top in your wardrobe that fits perfectly. That is exactly what you need to get your measurements. A knitted sweater without stretch content works best.
With this simple method, we will show you step by step how to proceed. Are you ready for a little calculation task with us?
Everything you need to convert your knitting project to the right size is:
- Your favorite sweater
- Paper and pen
- Calculator
- Tape measure
- Counting frame: you can download the free printable Gruendl counting frame here. Make sure your printer settings are set to 100% so your counting frame has the correct dimensions.
- A pattern with a knitting design you would like to adapt to your size: browse our varied collection of free patterns in the Gruendl online shop and download your favorite pattern.
- Knitting needles and wool you want to use for your sweater
Which measurements you need from your favorite sweater depends on the measurements shown in the schematic or instructions for the knitted top you want to make. Those measurements are definitely needed for the conversion. Our advice: better one measurement too many than one too few.
Lay the sweater on a smooth surface and smooth out any wrinkles. Now measure each section. The most important measurements are:
- upper sleeve length
- lower sleeve length
- armhole height
- width of the sleeve cuff
- width of the neckline
- depth of the neckline
- shoulder width (the short section from the armhole to the neckline)
- height to the armhole (measured from the lower ribbing)
- total width of the knitted model
- total length of the knitted model
It is best to enter all measurements in a sketch of your sweater or in the schematic of your desired pattern. That gives you a better overview.
If you would like your future knitting project to be slightly longer, shorter, wider or narrower than your measured favorite sweater, you can adjust your measurements a little.
You have probably already read at Gruendl that gauge swatches are very important and helpful. Only if you make a careful gauge swatch beforehand can you ensure that your knitted piece fits perfectly once finished.
If your knitted piece includes several patterns, it is advisable to make a separate gauge swatch for each one - definitely for the main pattern. We explain how to make a gauge swatch, how large it should be and what to keep in mind in this video from the Gruendl knitting school.
After measuring, make a gauge swatch using the material specified in the instructions for your desired garment, or the material you want to use instead. Compare the results of your gauge swatch with the gauge in the pattern, or with the information on the ball band or the matching product detail page for the Gruendl wool in the Gruendl online shop.
If your gauge differs from the existing information even though you used the specified yarn, you can balance the difference somewhat by changing needle size:
- Use a larger needle size if your gauge swatch was smaller than Gruendl's information (more stitches/rows make 10 cm).
- Use a smaller needle size if your gauge swatch was larger than Gruendl's information (fewer rows/stitches make 10 cm).
Your gauge swatch shows how many stitches and rows are needed for 10 cm. This information is the basis for determining a factor needed to calculate your desired size. You will learn how to determine it in the next step.
After measuring comes the conversion. This is where the good old rule of three comes in. What information do you need? Your gauge swatch, the factors calculated from it and the measurements of your favorite sweater from step 1.
First, we look at the factor you can derive from your gauge swatch. You get it by converting the information from your 10 cm gauge swatch down to 1 cm. To illustrate the process, we use the Gruendl yarn Eco Cotton:
Gauge swatch for Gruendl Eco Cotton:
21 sts and 26 rows = 10 x 10 cm.
- You need 21 stitches to get 10 cm in width;
2.1 stitches for 1 cm -> this is the factor needed for further stitch calculations. - You need 26 rows to reach 10 cm in height;
2.6 rows for 1 cm -> this is the factor needed for further row calculations.
For your desired model, centimeter measurements of the knitted piece are often shown in the matching instructions with a schematic. You will also find stitch and row counts in the instruction text.
Take the sketch of your sweater or the schematic of your desired pattern with all measurements, as well as the results of your gauge swatch. Now you can convert all measurements to your size in rows and stitches.
To convert the pattern to your measurements, you need the following information:
- centimeter measurements of your desired size
- conversion factors from your gauge swatch (showing how many rows and stitches must be knitted per centimeter)
This gives the following formula:
- centimeter value for desired width x stitch factor (according to gauge swatch) = new stitch count
- centimeter value for desired length x row factor (according to gauge swatch) = new row count
Example:
- 38 cm (desired width) x 0.8 (according to the stitch count of the gauge swatch) = 30 stitches needed for the width
- 52 cm (desired height) x 1.2 (according to the row count of the gauge swatch) = 62 rows needed for your desired height
If you want to skip the intermediate step of calculating factors, you can also use this formula. You only need the information from your gauge swatch and the centimeter measurements of the desired size you want to knit.
- centimeter value for desired width x [stitches per 10 cm (according to gauge swatch) / 10] = new stitch count
- centimeter value for desired length x [rows per 10 cm (according to gauge swatch) / 10] = new row count
Example:
- 38 cm (desired width) x [8 stitches per 10 cm (according to the stitch count of the gauge swatch) / 10] = 30 stitches
- 52 cm (desired height) x [12 rows per 10 cm (according to the row count of the gauge swatch) / 10] = 62 rows
And now the big conversion can begin. All width measurements are converted into stitches, and all height measurements are converted into rows.
For a better overview, we recommend entering the calculated stitch and row counts into the drawing you made of your favorite sweater at the beginning, or into the schematic of your desired pattern. Feel free to use different colors to separate the different values.
Once you have converted all information, do a quick check: do all lengths and widths that will later need to be sewn together match? Does the measurement for the upper sleeve width fit the armhole height?
Go through each measurement from the original pattern again step by step and make sure it looks plausible.
What happens if a calculation result is not a whole number?
If the number has an awkward decimal place, round it up or down in a sensible way. Keep the pattern at hand too, as it often contains important information, for example about the stitch pattern (number of stitches divisible by 5) or whether the piece should be bound off on a right-side or wrong-side row. This determines whether the row count should be rounded up or down to an even or odd number. In the final result, this is usually not even measurable. You can read what to keep in mind in the next paragraph.
How easy it is to convert your knitted piece depends on the complexity of the pattern. Does it include many increases and decreases? Are there elaborate stitch patterns such as cables? Then you can expect a bit of a puzzle.
For beginners trying this task for the first time, we therefore recommend using simple knitted pieces. Patterns such as stockinette stitch, garter stitch, reverse stockinette or reverse garter are ideal. We have put together a few simple patterns here:
- Striped sweater in garter stitch made from Gruendl King Cotton
- Stockinette slipover made from Pacific Lace
- One Weekend Sweater made from Gruendl Nordic Chunky
- Half brioche sweater made from Gruendl Merino Pure
It becomes more difficult with textured patterns such as cables, lace or eyelet patterns. These are usually knitted according to a repeat that must work out within the piece. This must be taken into account when converting to the new stitch count. Sometimes it is therefore necessary to adjust either the measurement or the pattern.
For this step, it is best to keep the original instructions together with the schematic ready so you can compare the measurements and avoid huge deviations.
We would like to show you an example using a cable pattern:
Between the individual cables of a cable pattern there are usually purl stitches to give the cables more dimension. If the repeat does not fit exactly into the new stitch count you calculated from your measurements, you can play with the number of purl stitches. These adjustments are usually not visible in the final result as long as the deviations are manageable.
Another method is not to change the pattern repeat, but to repeat it more or fewer times across the width.
Alternatively, missing centimeters in the width can be balanced evenly at the right and left edges with stitches knitted in stockinette or reverse stockinette.
Yes. If you want to convert crochet models to your size or crochet your desired pattern with a different yarn, you can use the same technique described above. The process works in the same way.
Well? Did we promise too much? That was the whole trick. From now on you can knit pieces that fit perfectly and rewrite patterns so you can use your favorite wool. Let the great conversion begin!
More articles

Socken stricken für den guten Zweck – mach mit bis 15.12.2026
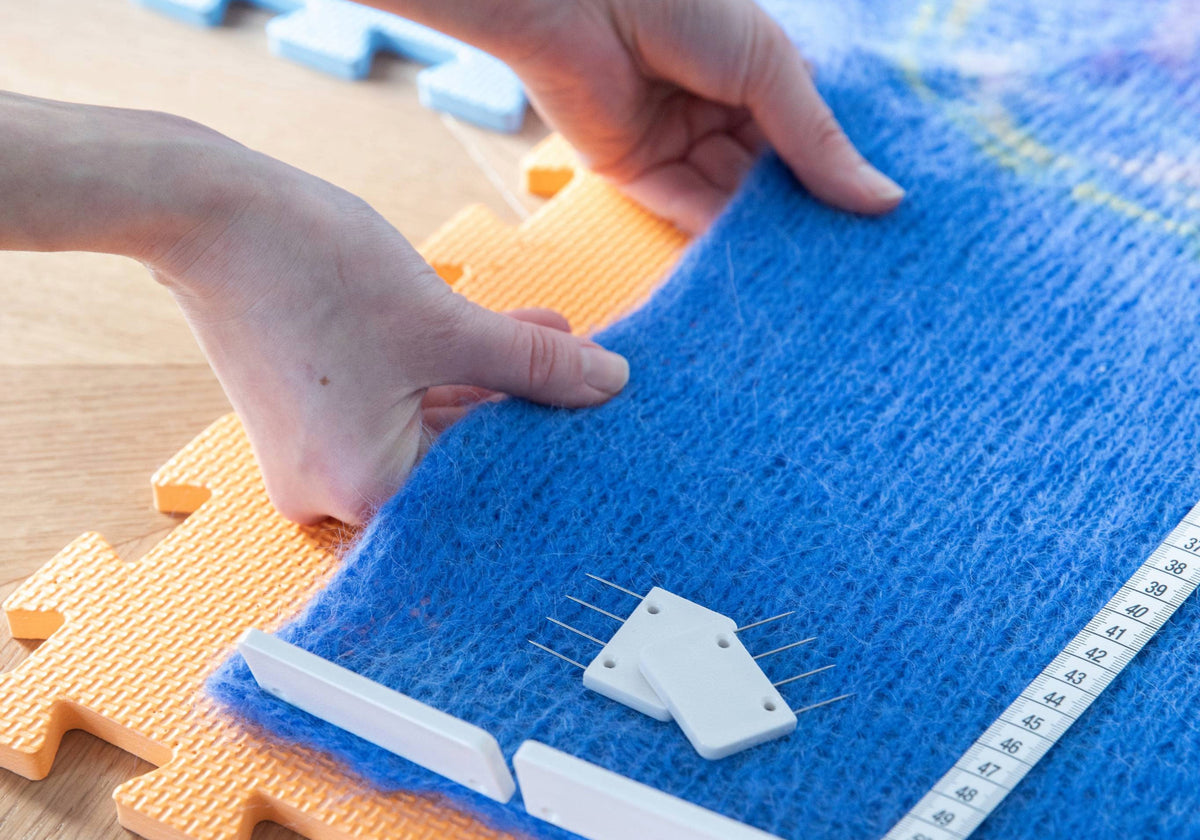
Blocking knitted pieces – why blocking is the secret finishing touch